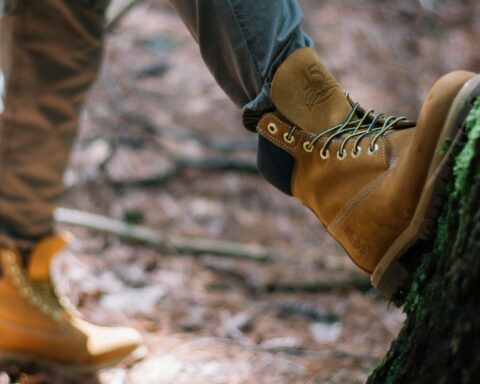
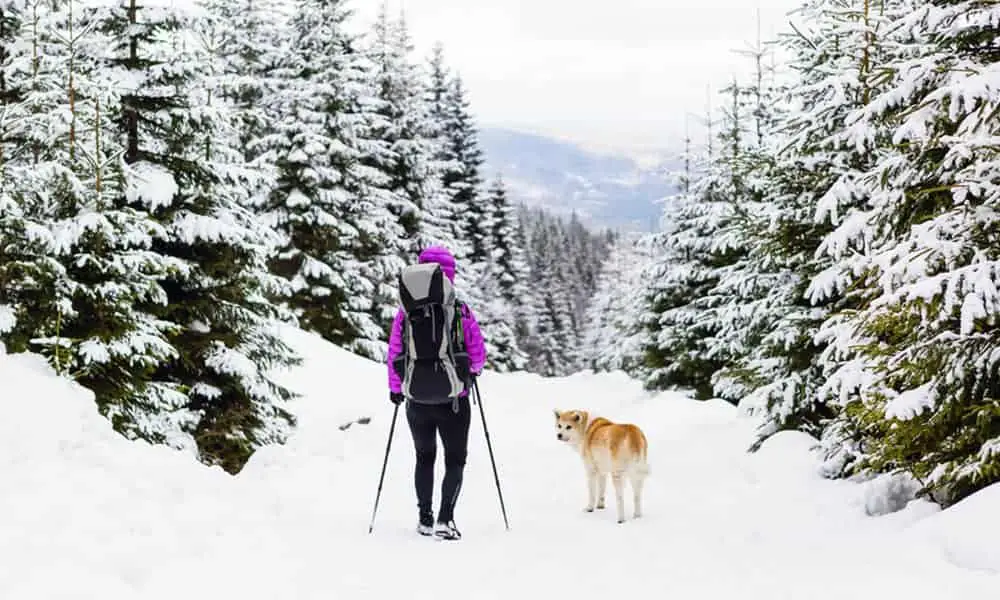
Trekking poles – if you’ve never tried one, you’ve most likely seen them in use. But what’s the big deal anyway? Do these poles make that big of a difference?
In short, yes. You might be surprised at how big of a difference a hiking pole can make. Many hikers say that trekking poles made improvements to their stability, endurance, and overall comfort-level during walks and hikes. In this article, we’re giving you a full run-down for using hiking poles and diving into the various benefits that these poles have to offer.
How to Properly Walk with Trekking Poles
Let’s get right into it. It’s time to examine how to use trekking poles properly. To receive the proper benefits of these poles, you need to know how to use them properly. Or to learn more about these benefits, skip ahead to our section below.
Trekking poles appear to be quite simple tools, but there are many specifics involved in proper usage. Here’s how to do it:
First – Make Sure They Are Set Up Properly
Before you can use your trekking poles properly, you need to make sure you adjust them to your physical specifications. You need to buy the proper poles and adjust them to your height, posture, and length. Here’s what to consider:
Getting The Right Length
Getting the proper length for your walking pole is necessary. It ensures that your arms provide maximum support and there are no unnecessary movements that may cause unnecessary fatigue. When you consider that you use these poles each time you step, this can add up!
The proper length for a trekking pole should allow you to keep your arms at a 90-degree angle as the pole is touching the ground next to your foot. Ensure that your elbows are close to your body when taking this measurement. This pole length allows you to support yourself with the poles each time you plant them into the ground. It also allows you to plant the poles properly without unnecessary extension. It makes it easier and more supportive.
Most trekking poles are adjustable, but some are fixed-length. Fixed-length is often more affordable, but you need to be sure you buy the proper size. One disadvantage of a fixed length hiking pole is that you can’t adjust the pole length for uphill and downhill treks, as you can with an adjustable pole or telescoping pole. For optimal positioning, trekking poles need to be slightly longer on the downhill climbs and slightly shorter on the uphill (to adjust for the ground position in front of them).
The Strap
There is usually one other adjustable feature on a trekking pole – the wrist strap. The wrist strap is important so you don’t drop the pole and to provide extra support when you loosen your grip on the pole.
The wrist strap should be slightly loose, but not too loose that your hand slides out easily. You want to bring your hand through the strap, so it loops around the back of your hand, which allows you to let go of the pole while keeping it supported.
Walking with Trekking Poles
Once you’ve got your trekking poles set up, it’s time to learn how to use them properly. To fully receive the benefits of these poles, you have to use proper form throughout your walk, which involves different motions that come together into one smooth action:
Arms/Walking Motion
Your top consideration with arm motion is minimizing movement for a more efficient range of motion because it will add up to reduced fatigue over time.
First, you want to keep your elbows close to your sides so that your arms hang naturally.
With each step, you want to bring forward the pole on the opposite side of your body. Raise your forearm slightly, putting the pole in front of you and planting it between your legs with each step. You must use the pole on the opposite side of your body because it helps stabilize your walk through the center (similar to how you’d move your arms when you walk normally).
The tips of the pole should naturally touch the ground with each step. There’s no need to plant the poles unless necessary. At this point, you can probably see the importance of measuring the length of the poles in the step above. A proper length ensures that the poles naturally touch the ground on each step, without extra effort on your part.
Timing the Plant
The plant allows you to absorb much of each step’s load. Planting the pole should be easy and intuitive. Once you have the proper arm motion, the pole should graze the ground with each step, lightly planting into the ground as you walk. The length should be so that there is no forced action required.
You can plant the pole more heavily on difficult areas which require more stability and control. For example, many hikers utilize a more aggressive planting action during steep areas or particularly uneven terrain, allowing them to stay balanced and absorb more of the impact.
Downhills
Downhills often require a special approach in using the poles. For particularly steep or lengthy downhills, you may want to lengthen your poles. allowing them to reach the ground, which will be positioned lower in front of your body.
On downhills, it’s most important to take it slow. Use smaller steps, and utilize a firmer planting action with each step to keep your balance throughout the downhill and remain upright, decreasing stress on your back.
Uphills
For uphills, decrease the length of your pole, using the same logic as with downhills, but in reverse.
For uphills, it might be intuitive to plant the poles in front of your body, but we don’t advise this. Plant the poles beside your body because this allows you to push down on your poles to carry yourself into your next step, making uphills significantly easier because your leading leg can share the weight of each step with your arms and shoulders.
The “Double Plant”
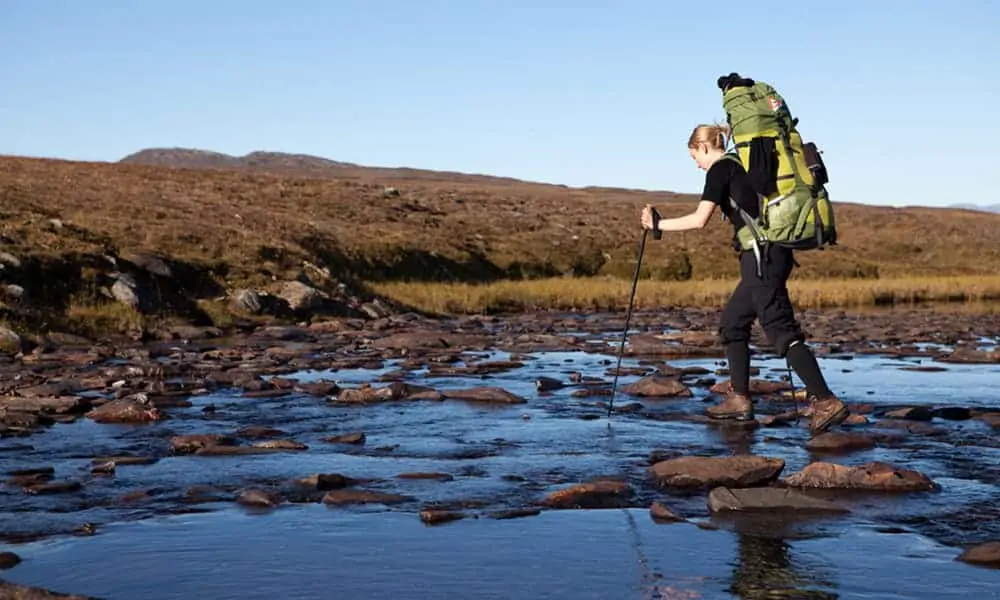
If you ever feel uncomfortable on uneven or steep terrain, use a technique called the double plant.
For a double plant, you want to outstretch both poles slightly in front of you and plant them into the ground. Don’t lean into the poles at this point. Keep them outstretched and planted. Then, walk forward into the poles with both feet. As you can see, you are using both poles to support your trot instead of just one.
This technique offers extra stability but is also quite a bit more fatiguing. For this reason, you should save them for, particularly difficult areas.
What if I Only Use One Trekking Pole?
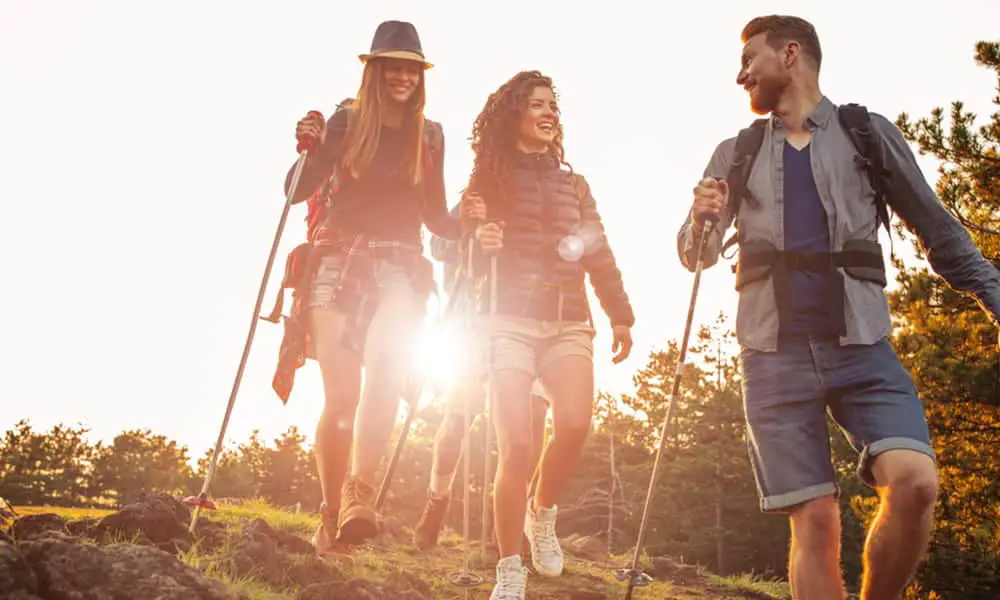
Up until this point, we have focused on proper techniques using two trekking poles. However, some hikers prefer to use just one pole. You might be wondering whether you need two poles or can get by with just one. As you can imagine, there are advantages and disadvantages.
The advantages are mostly convenience-based. If you’re backpacking, you might want to minimize your load as much as possible and might want only to have space for one pole. Additionally, you keep your other hand free for other tasks.
The disadvantages are that you will receive less of the benefits associated with balance, stability, power, and endurance. One pole is not as efficient but still will provide these benefits when needed.
When using a single trekking pole, you can choose which leg you want to sync your motion. Because you are only using one pole, it doesn’t matter which leg/arm synchronization you choose. Your motion should be based on comfort.
Of course, if you don’t feel like splurging on poles, you can pick up a walking stick along the trail!
What are Trekking Poles For?
In this beginner’s guide to trekking poles, we explained why these poles can benefit you. If you still aren’t convinced whether these poles are for you, then here are some of the many ways that they can help:
Reduce Stress on Joints
Trekking poles allow you to support yourself by absorbing impact with your arms as you hold the poles, spreading the impact from each step throughout your whole body. The result is that each step is absorbed and spread more evenly throughout your body. Certain joints which might otherwise carry the brunt of each step (knees, feet, back, etc.) are now less affected, which reduces stress on these joints, leading to a lower likelihood of pain or injury.
Improve Performance
Another reason that people turn to trekking poles is that they increase your performance in several areas. These areas include:
Improve Power & Speed: As you plant the poles in the ground, you can use them to generate slightly more force with each step. Combined with minimal joint impact, you will also have more energy to exert with your legs. Of course, the actual biological science is a bit more complicated than this. Just know that trekking poles help you to generate more power, resulting in more speed.
Improve Endurance: Because the impact is evenly spread throughout your body, you will find that fatigue develops much more slowly when using trekking poles. As you absorb the impact, it reduces stress on areas that traditionally become fatigued during hikes (feet, knees, legs, back, etc.). The result is more endurance!
Aid with Balance: Planting the poles allows you to generate more stability across uneven terrain. You have four points of contact with the ground instead of two. You’ll keep your balance much more efficiently, and we don’t have to tell you that balance is an important skill for hiking!
Improve Posture
Many of the above factors combine to help you improve your posture during hikes and long treks. By taking the pressure off your back, you can remain upright without experiencing as much fatigue.
As your back gets sore on long walks, there is a tendency to start slouching to alleviate this soreness. With poles, you spread and support some of this weight with your arms, which allows you to remain upright more comfortably. The result is improved posture during long hikes (and less soreness afterward!).
Build Arm Muscles
Trekking poles help to stimulate more movement in your arms during hikes – as you lift and plant the poles with each step. Increased arm movement means increased muscle development, and trekking poles turn a lower-body workout into a full-body workout. They are particularly good for your shoulders and your triceps.
Top Tip – Start with Proper Form
Thanks for reading our detailed guide to using a trekking pole on your next hike. As you can see, there are many things to consider for such a seemingly simple device. However, this is the reason that we used so much detail. By following the proper procedures, you can nail the proper form right away. It’s much easier to build a proper form from the outset than it is to adjust your form down the line. Pay attention to our guide, and you’ll be trekking like an expert hiker in no time!