If you’re a regular camper, you have probably experienced the dreaded tear or damage to your tent’s mesh.
In today’s blog, we are going to show you how to repair your tent’s mesh so you can enjoy a dirt-free camping trip the next time you head out to the great outdoors.
The Importance of Tent Mesh
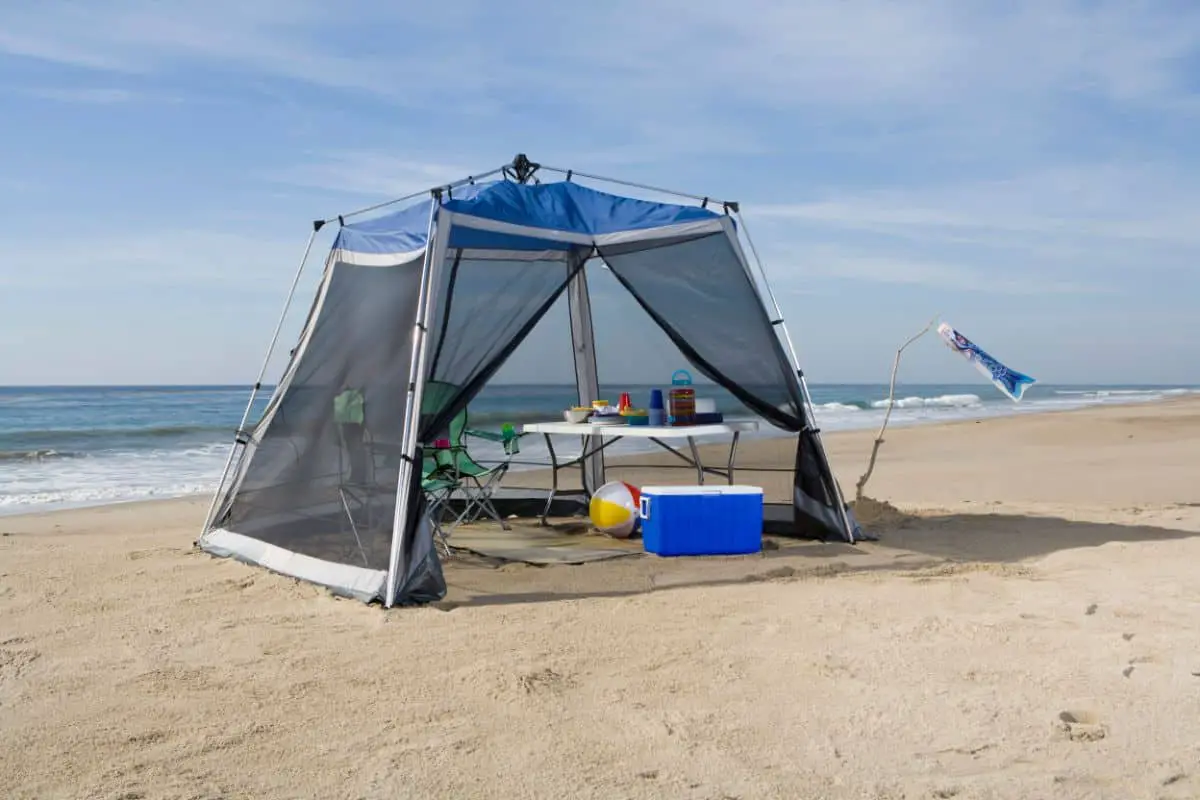
Tent mesh is an invaluable component of a tent. It can prevent fine particles, such as sand and dirt, from falling through and entering your tent, allowing you to enjoy a dirt-free, clean space to sleep in.
Tent mesh can also act as doormats for your tent. Again, this can reduce the amount of dirt that enters your tent. Therefore, you have less mess to clean up after your camping trip.

However, when your tent mesh has torn, you may find that the interior of your tent has become dirtier than before.
Not only that, but snags and imperfections can significantly impede the aesthetics of the tent. This is why you should repair tent mesh as soon as possible, especially if your next camping trip is right around the corner.
Best Way To Repair Tent Mesh
There are two main methods for repairing ripped tent mesh. One is using a sewing machine and the other is with tent glue.
However, whilst both ways are efficient, we firmly believe that using a sewing machine is the best method for fixing tent mesh, so that is the technique we will be focusing on first.
Here are the steps for fixing your tent mesh using a sewing machine:
- Fix rips and holes fast with an ultra-strong, peel-and-stick repair tape that requires no heat or sewing; ideal for use on tents, tarps, jackets, vinyl furniture, and more
- Apply Tenacious Tape to almost anything with its aggressive adhesive that bonds permanently to nylon, mesh, vinyl, rubber and plastic; not recommended for seams, denim, cotton, or natural fabrics
- Make a washable repair sealed with this repair tape featuring a waterproof coating that won’t peel off over time; available in 3”x20” strip
- Use the nylon fabric (black, red and colors), ripstop fabric (green and gray), and clear vinyl for nearly invisible repairs
- Packaging may vary
Tools needed – sewing machine, clean cloth, and repair tape
Steps
- Start by cleaning your tent. You can lay it down on a flat surface and then use a damp cloth to clean the damaged region. You can also use a cloth doused in rubbing alcohol. Then, simply wait for this area to dry.
- Now, you need to thread your sewing machine. In ideal circumstances, you should use fabric thread that is as similar to your tent’s damaged region as possible. In this case, mesh.
- Set your sewing machine to a zigzag stitching pattern for the best results.
- Now, fold the damaged mesh section in two. The two edges of the torn or damaged section should lay flat and flush against one another. The edges can overlap each other as well. This is so you can ensure that all the torn sections stay closed.
- Now, it’s time to start sewing. For the separate torn edges, these need to be sewn together.
- Apply a very strong tape over the damaged section. This should aid in strengthening the sew, and help avoid any further tears. You can also add another mesh net tape over the ripped portion, as well as the adhesive tape. We just recommend cutting the mesh net tape in a circular design so it doesn’t fray.
- Apply the tape, or mesh, over the ripped segment before slowly rubbing it with your hands. At the same time, apply some pressure. Repeat the same process on the other side.
And, that’s it. Hopefully, this method will see your tent mesh remain strong for a long time to come.
If you’re off-grid or in the middle of camping, you are pretty unlikely to have a sewing machine on you! That’s why we recommend carrying tent glue on camping expeditions, in case of damaged tent screen or netting.

Tent glue is a good lightweight option for camping and this technique does not require any additional tools. It is also waterproof, so you don’t have to worry about it wearing off after a sudden rainstorm.
So, here’s how to repair ripped tent mesh using tent glue:
Steps
- As with the sewing machine method, you need to start by ensuring that all the damaged segments are clean and free from any debris or dirt. This is even more important when using glue, as it may comprise its final result.
- Fold the two edges of the ripped tent mesh until they lie flat against each other. We suggest trying to get the edges to overlap each other, as this seems to give the best results.
- Now, simply apply the tent glue over the torn segments. For the best fix, you should wait for the stitching to cure for around six hours. The longer you wait, though, the better. Nevertheless, you should check the glue manufacturer’s instructions and follow what they recommend.
After your long wait, your tent’s netting should be repaired!
How To Repair Different Types Of Torn Tent Netting
Let’s explore another similar method for fixing tent netting.
Here’s how to repair a straight rip:
- If you have a straight tear, start by folding the fabric in half at its tear.
- Again, you need a zigzag stitch (a 3-step zigzag) on your sewing machine. Start around an inch above the rip and sew along the fabric’s edge with a standard sewing machine thread.
Here’s how to repair a torn hole in the netting:
- This method requires the netting to be patched. Start by cutting a patch that is larger than the hole and line the grain up.
- Now, place a number of pins into the netting to hold it in place.
- Using the 3-step zigzag stitch, sew around the patch, but try to keep the corners rounded instead of angled for the best result.
- Once the patch has been sewn on, you will need to trim away any excess fabric. Do this extremely carefully so you do not damage any other section of your tenet, such as the door or window.
- Finally, trim away any excess on either side of the patch.
If you find that your tent’s window or door needs replacing, the tent will need to be sent away for professional repair. However, this can be expensive so, sometimes, it is more cost-effective to buy a new tent.
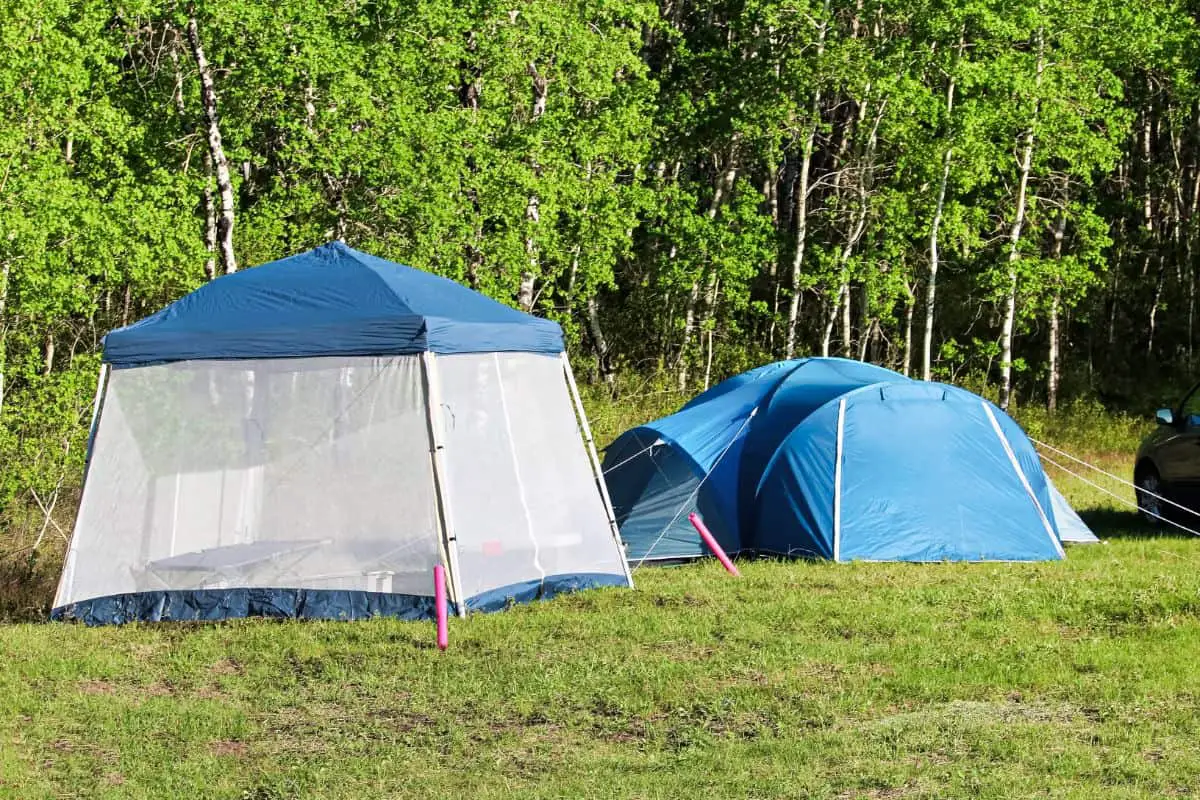
How To Seal Leaks In Your Tent
A torn tent mesh can result in leakages into your tent. And, as you know, if you’re camping, the weather can change almost instantly, so the last thing you want is to be caught in a rainstorm with a leaky tent.
Whether you need to repair a tent screen or repair your tent fly screen, the same methods apply (as we discussed above).

- Permanent Repairs – Seal seams and fix holes in tents, tarps, awnings, rainflies, and gear like Thermarest sleeping pads with a flexible, waterproof adhesive.
- Covers 12 Feet of Seams – One 1 oz tube treats up to 12 feet of seams or patches torn fabric: 8 oz size also available for larger repair needs.
- Durable & Flexible Seal – Cures into a rubber seal that flexes with fabric, bonds to nylon, polyester, canvas, leather, and vinyl for long-lasting performance.
- Won’t Peel or Crack – Designed to stay put through heavy use and weather; ideal for re-proofing or fixing gear that needs to stay waterproof.
- Easy Application – Comes with applicator brush for precise, mess-free repairs at home or in the field.
However, a leak may not always be because of a torn piece of netting. In some cases, it could be coming from the seams of the tent.
The majority of modern day tents come with sealed seams, but they can become damaged, resulting in water leakages.
Thankfully, such issues are simple to fix. So, let’s explore how to repair a tent leak below.
Tool Required
To complete this job, you will need:
Steps
- First, you must find where the leak is coming from. Check if it is because of ripped tent mesh or damaged seams. We suggest checking your tent in a bright, sunny space to see it best.
- Check the underside of the tent and place the fly apart for easy access to the seams.
- Once you have found the leaky culprit, you need to clean the damaged spot. Use a clean cloth with water or a dab of alcohol to wipe away any dirt or debris.
- Now, gently apply some seam sealer to the seams.
- Once you have covered the damaged area, you should inspect other areas of the seam. In most cases, once one part of a seam has got damaged, more areas are likely to follow in the same steps. Therefore, apply seam sealer to all the seams.
- Next, you need to let the tent dry for an hour or so. Once the sealant has dried, you are ready to test your tent and start your next adventure!
Basic Tent Maintenance
The more you use a tent, the more likely it will get damaged. However, you can limit such damage with simple steps to maintain it.
- Repair rips and tears on tent or bug screens, mosquito netting and no-see-ums instantly; no heat required
- Peel-and-stick the 3” round, mesh patches by removing the backing and applying pressure; adheres to all types of screens and synthetic fabrics
- Take this lightweight mesh repair kit on any adventure as part of any gear box
- Fix a variety of outdoor screens including bug netting, tent mesh, RV awning/sunshade
- GEAR AID products help you repair your gear and head out on adventures with confidence. From patching holes to fixing equipment, cleaning gear, and making experiences outside better, our mission revolves around preservation and renewal.
Yes, knowing how to repair tent netting is an invaluable skill to have as a camper, but, even better is avoiding the issue altogether.
Here are some tips for proper tent maintenance:
- Practice setting up your tent and folding it – many people damage their tent’s netting when setting it up and folding it away. By practicing this process, you can understand how to do it properly and safely every time. And, avoid any nasty surprises on your next camping trip.
- Be aware of the weather and elements – think about where you’re setting your tent up. Avoid setting it up under direct sunlight, as long-term exposure to UV rays can damage a tent’s fabric and pole.
- Handle carefully – don’t use excessive force when operating a tent’s zippers. Handle your tent with care to avoid tears in the netting and damaged poles, etc.
In Summary
Knowing how to repair ripped tent mesh is a skill every camper should have. Above are just a few of the ways to repair tent mesh that you can try if your tent has become damaged.